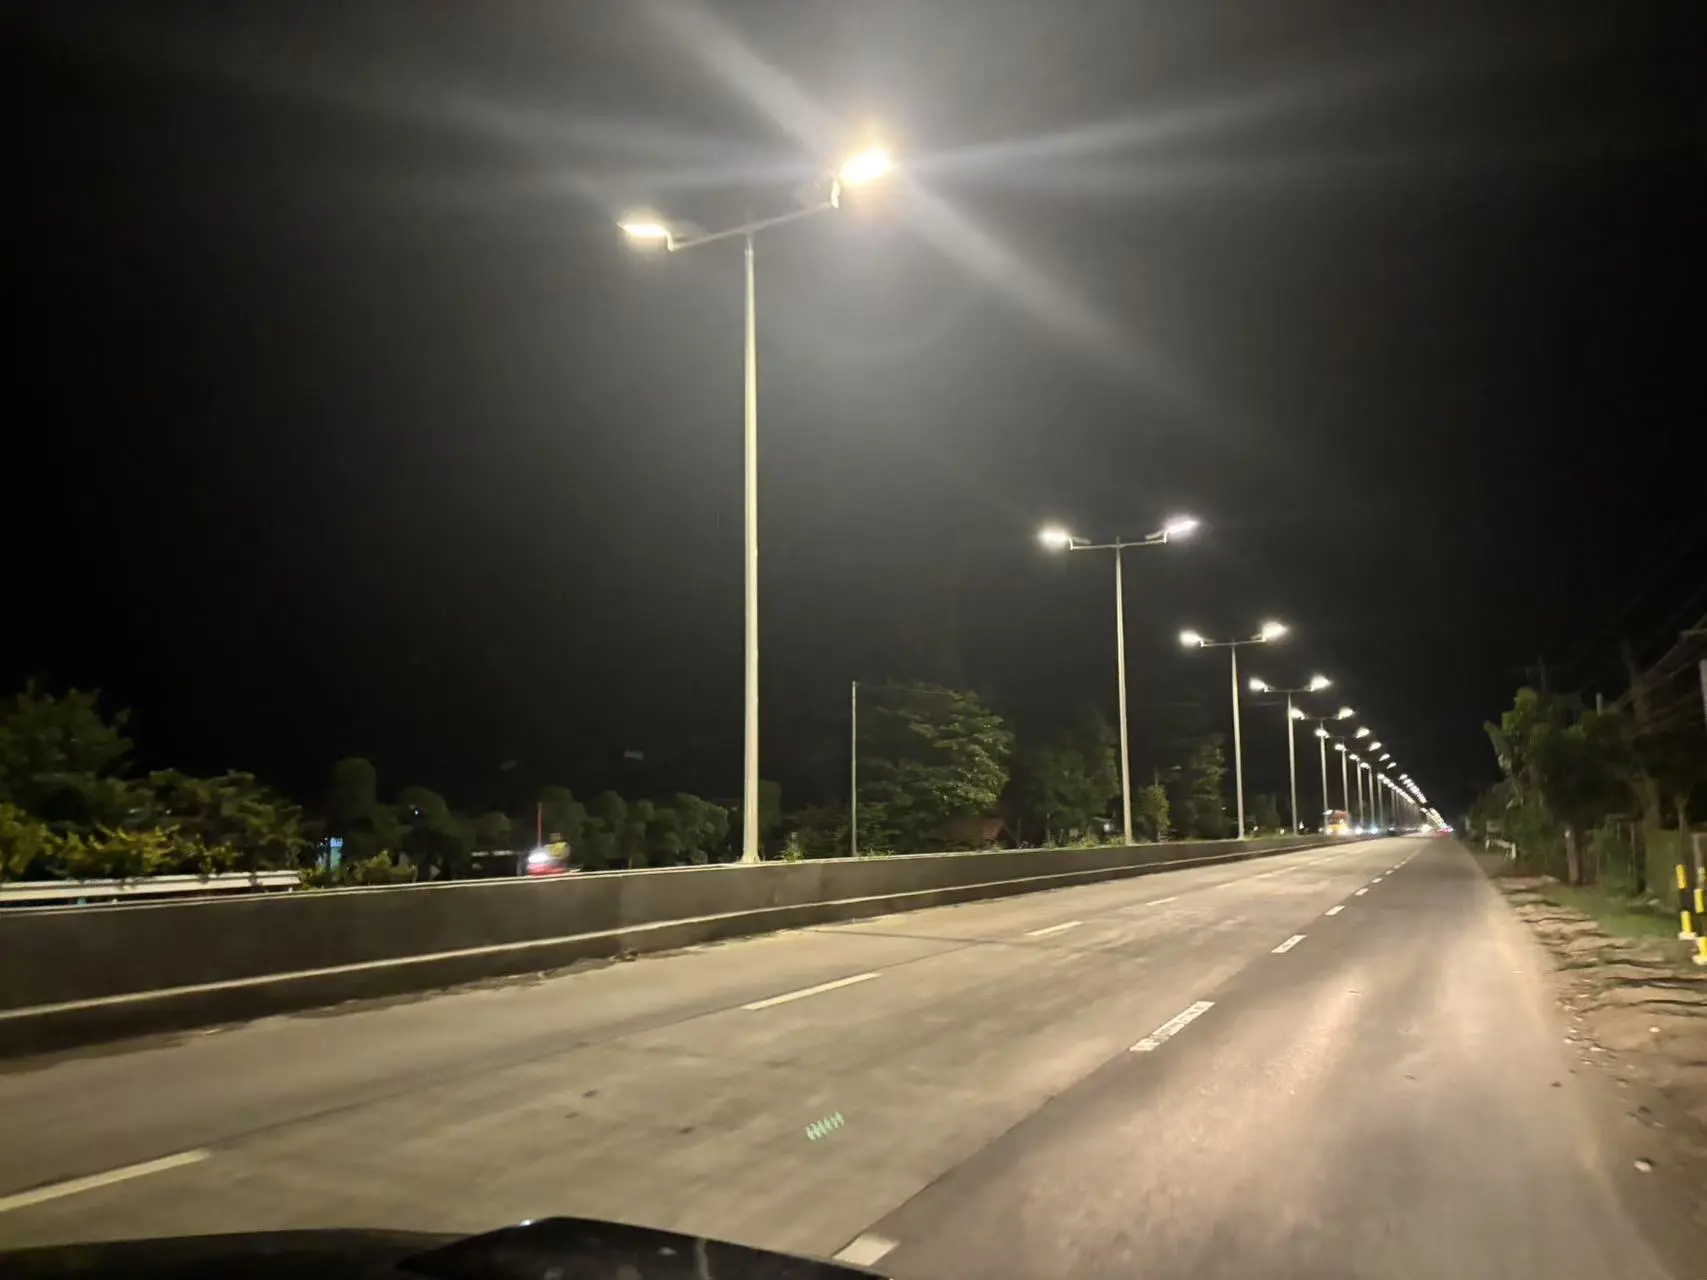
How to Connect Solar Street Light?
Solar street lights are an innovative and eco-friendly solution for outdoor lighting. These self-contained units harness the power of the sun to provide illumination during nighttime hours. Understanding how to connect solar street lights properly is crucial for ensuring their optimal performance and longevity. In this comprehensive guide, we'll explore the key steps and considerations involved in connecting solar street lights, from installation to maintenance.

What are the main components of a solar street light system?
Solar Panel
The solar panel is the heart of a solar street light system. It converts sunlight into electrical energy, which is then stored in the battery for use during nighttime. When connecting a solar street light, it's essential to position the solar panel correctly to maximize sun exposure. Typically, the panel should face south in the Northern Hemisphere and north in the Southern Hemisphere. The angle of inclination is also crucial, usually set to match the latitude of the installation location. Proper placement ensures optimal energy collection, which directly impacts the light's performance. Remember to keep the panel clean and free from obstructions like tree branches or nearby structures that could cast shadows.
Battery
The battery in a solar street light stores the energy collected by the solar panel during the day. When connecting the battery, it's crucial to ensure proper wiring and insulation. Most solar street lights use lithium-ion or lead-acid batteries, each with specific connection requirements. Pay attention to the polarity when connecting the battery to the charge controller and LED light. Incorrect connections can damage the system or reduce its efficiency. It's also important to choose a battery with adequate capacity to power the light throughout the night, especially during periods of low sunlight. Regular maintenance checks on the battery connections can prevent issues like corrosion and ensure consistent performance of the solar street light.
LED Light
The LED light is the output component of the solar street light system. When connecting the LED light, ensure it's securely fastened to the light pole and properly wired to the battery and charge controller. Many modern solar street lights come with adjustable brackets, allowing you to optimize the light direction for maximum coverage. It's crucial to use weatherproof connections to protect against moisture and other environmental factors. Some advanced solar street lights feature programmable LED modules, allowing for customized lighting schedules or dimming options. These features can be set during the connection process to maximize energy efficiency and extend the light's operational hours.
How do you install a solar street light pole?
Site Preparation
Before installing a solar street light pole, thorough site preparation is essential. Start by conducting a site survey to determine the best location for maximum sun exposure and optimal lighting coverage. Consider factors such as nearby trees, buildings, and other potential obstructions that could cast shadows on the solar panel. The ground should be level and stable to support the pole. In some cases, you may need to prepare a concrete foundation. Ensure that the chosen location complies with local zoning laws and regulations regarding street lighting. It's also important to check for underground utilities before digging. Once the site is prepared, mark the exact spot for the pole installation and gather all necessary tools and equipment for the next steps.
Pole Mounting
Mounting the pole for a solar street light requires careful attention to detail. The pole must be sturdy enough to withstand wind and weather conditions while supporting the weight of the solar panel, battery, and light fixture. Most solar street light poles are made of galvanized steel or aluminum for durability. Begin by digging a hole to the required depth, typically 1/6 the height of the pole plus an additional 2 feet. Place the pole in the hole and use a level to ensure it's perfectly vertical. Fill the hole with concrete, making sure the pole remains straight as the concrete sets. Some systems use a pre-cast concrete base with anchor bolts, which can simplify the installation process. Whichever method you choose, it's crucial to allow sufficient time for the concrete to cure before attaching the solar street light components.
Wiring and Connections
Once the pole is securely in place, it's time to focus on the wiring and connections of the solar street light. Start by mounting the solar panel at the top of the pole, ensuring it's angled correctly for optimal sun exposure. Next, install the battery box and charge controller on the pole, typically at a height that's easily accessible for maintenance but out of reach for tampering. Run the wiring from the solar panel to the charge controller and then to the battery. Make sure all connections are secure and weatherproof. The LED light fixture is usually mounted at the end of an arm extending from the pole. Run the wiring from the battery through the pole and arm to the light fixture. Double-check all connections and use appropriate cable management techniques to keep the wiring neat and protected from the elements.
What maintenance is required for solar street lights?
Regular Cleaning
Regular cleaning is a crucial aspect of maintaining solar street lights. The solar panel, in particular, requires frequent attention to ensure optimal energy collection. Dust, dirt, bird droppings, and other debris can accumulate on the panel surface, reducing its efficiency. A clean solar panel can increase energy production by up to 30% compared to a dirty one. Aim to clean the panel at least every three to six months, or more frequently in dusty environments. Use a soft cloth or sponge with mild soap and water to gently wipe the panel surface. Avoid using abrasive materials or harsh chemicals that could damage the panel. Additionally, clean the LED light fixture to maintain maximum light output. This not only improves the light's performance but also extends its lifespan, ensuring the solar street light continues to function effectively for years to come.
Battery Maintenance
Battery maintenance is essential for the longevity and performance of solar street lights. While modern lithium-ion batteries require less maintenance than older lead-acid types, regular checks are still necessary. Inspect the battery connections periodically for signs of corrosion or loose wires. Clean any corrosion with a mixture of baking soda and water, then dry thoroughly. Check the battery's charge level and overall health using a multimeter or the system's built-in diagnostics if available. Most solar street light batteries have a lifespan of 3-5 years, so plan for replacement within this timeframe. Proper battery maintenance not only ensures consistent lighting performance but also prevents unexpected failures that could leave areas dark and potentially unsafe.
System Diagnostics
Conducting regular system diagnostics is crucial for maintaining the efficiency and reliability of solar street lights. Many modern systems come equipped with smart controllers that provide real-time data on system performance, including battery charge levels, energy production, and light output. Regular checks of these diagnostics can help identify potential issues before they become major problems. Look for patterns in energy production and consumption to ensure the system is operating as designed. If the diagnostics indicate reduced performance, it may be time to clean the solar panel, check for obstructions, or investigate potential component failures. Some advanced solar street lights even offer remote monitoring capabilities, allowing for efficient management of multiple lights across a wide area. By staying proactive with system diagnostics, you can maximize the lifespan and effectiveness of your solar street lights.
Conclusion
Connecting and maintaining solar street lights is a multifaceted process that requires attention to detail and regular upkeep. From properly installing the components to conducting routine maintenance, each step plays a crucial role in ensuring the longevity and efficiency of these eco-friendly lighting solutions. By following the guidelines outlined in this blog, you can maximize the performance of your solar street lights, providing reliable illumination while harnessing the power of the sun. Remember, proper installation and maintenance not only enhance the functionality of solar street lights but also contribute to a more sustainable and energy-efficient future for urban lighting.
Yangzhou Goldsun Solar Energy Co., Ltd. is a leading manufacturer and supplier of solar street lights, with an annual production capacity of 10,000-13,500 sets. Our products are ISO9001 certified and comply with CE, RoHS, SGS, and IEC 62133 standards. We have installed over 500 solar street light projects in more than 100 countries, including UNDP, UNOPS, and IOM projects. Offering 5-year warranties, customized solutions, and OEM support, we ensure fast delivery and strict packaging. Visit our factory or arrange third-party inspections (e.g., SGS) before delivery. For inquiries, contact us at solar@gdsolarlight.com.
References
- Smith, J. (2021). Solar Street Lighting: Installation and Maintenance Best Practices. Renewable Energy Journal, 45(3), 78-92.
- Johnson, A. & Brown, T. (2020). Optimizing Solar Panel Placement for Street Lighting Applications. Solar Technology Today, 18(2), 234-250.
- Garcia, M. et al. (2022). Battery Technologies for Solar-Powered Street Lights: A Comparative Analysis. Energy Storage Systems, 7(4), 412-428.
- Wilson, R. (2019). LED Technology in Solar Street Lighting: Advancements and Challenges. Illumination Engineering Review, 32(1), 56-71.
- Thompson, L. & Davis, K. (2021). Maintenance Strategies for Prolonging Solar Street Light Lifespan. Sustainable Urban Infrastructure, 9(3), 189-205.
- Lee, S. (2020). Smart Controllers and Remote Monitoring in Solar Street Lighting Systems. IoT in Urban Planning, 14(2), 301-317.


Yangzhou Goldsun Solar Energy Co.,Ltd.
